- Created by Andy R. Andersen, last modified by Jie Weng on Mar 29, 2023
You are viewing an old version of this page. View the current version.
Compare with Current View Page History
« Previous Version 7 Next »
Participating Contractors: EmPower+ Enrollments
Introduction Placeholder
The instructions below provides guidance for contractors with enrollment acceptance.
After the initial review step, the contractors will either Accept or Reject the enrollment by the Due Date.
If rejected, need to select a reason why under the Reason drop-down, this will create a new contractor assignment step for shared services to assign to a different contractor.
If Contractors cannot process the enrollment acceptance step by the due date, they can Extend Due Date by 5 business days.
Contractors may only extend the due date once, if pass due, the system will automatically process the step as rejected because of due date expired.
When all the required fields are completed, the contractor may Process the step by clicking Process. The work scope submission is going to change the assignment status to New and It will be assigned to the Contractor
The instructions below provides guidance for contractors to add notes.
The following Notes will be displayed on the Notes tab:
- The Notes that were added to this workflow step.
- The Notes that were added to a different workflow step that the user has access to.
- The Notes that were added to a different workflow step that the user does not have access to as long as the Note’s Who can view this note? field is set to Users with access to this enrollment.
On the Notes tab, click the New Note button. A new Note dialog will open.

Fill in the Notes field.
The Note Date and Note Time fields will automatically populate with the date and time the user clicked New Note, but the user will have the ability to change the prepopulated values.
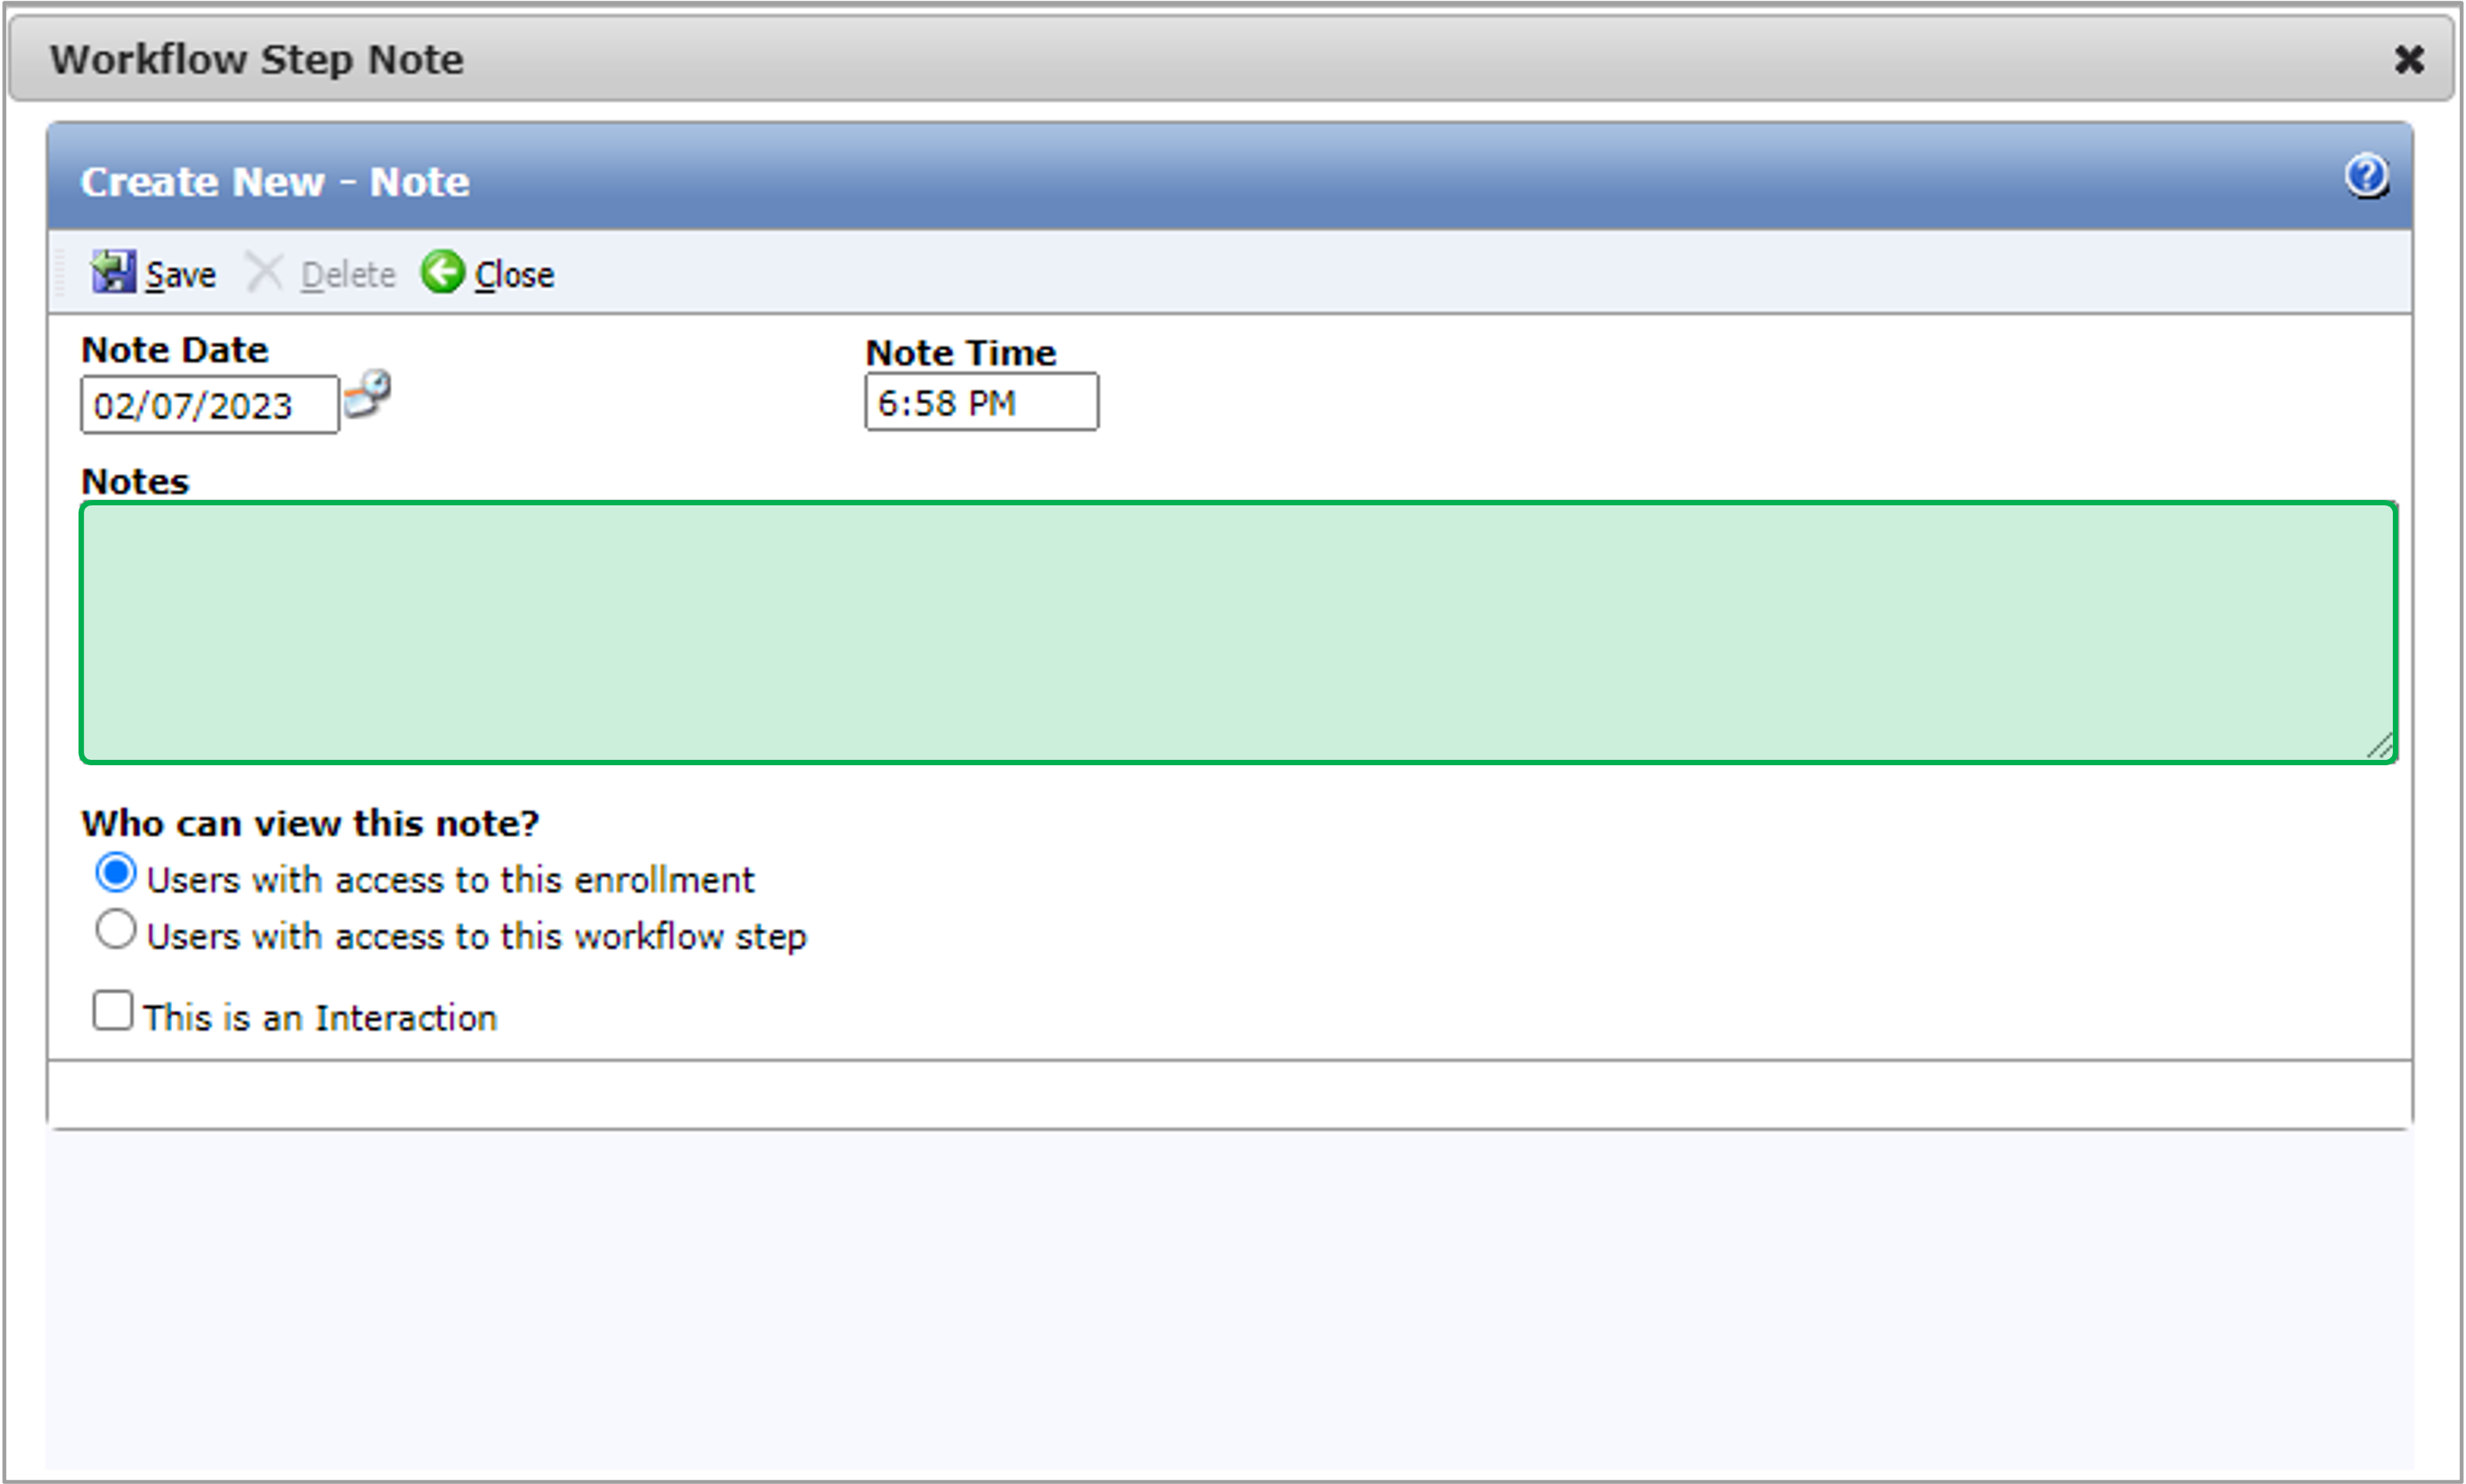
The Who can view this note? field will default to Users with access to this enrollment.
If a user changes the default value to Users with access to this workflow step, users who do not have access to the step that the Note originated from will not be able to see the Note on the steps that they can access or on the Enrollment Profile - Notes page.
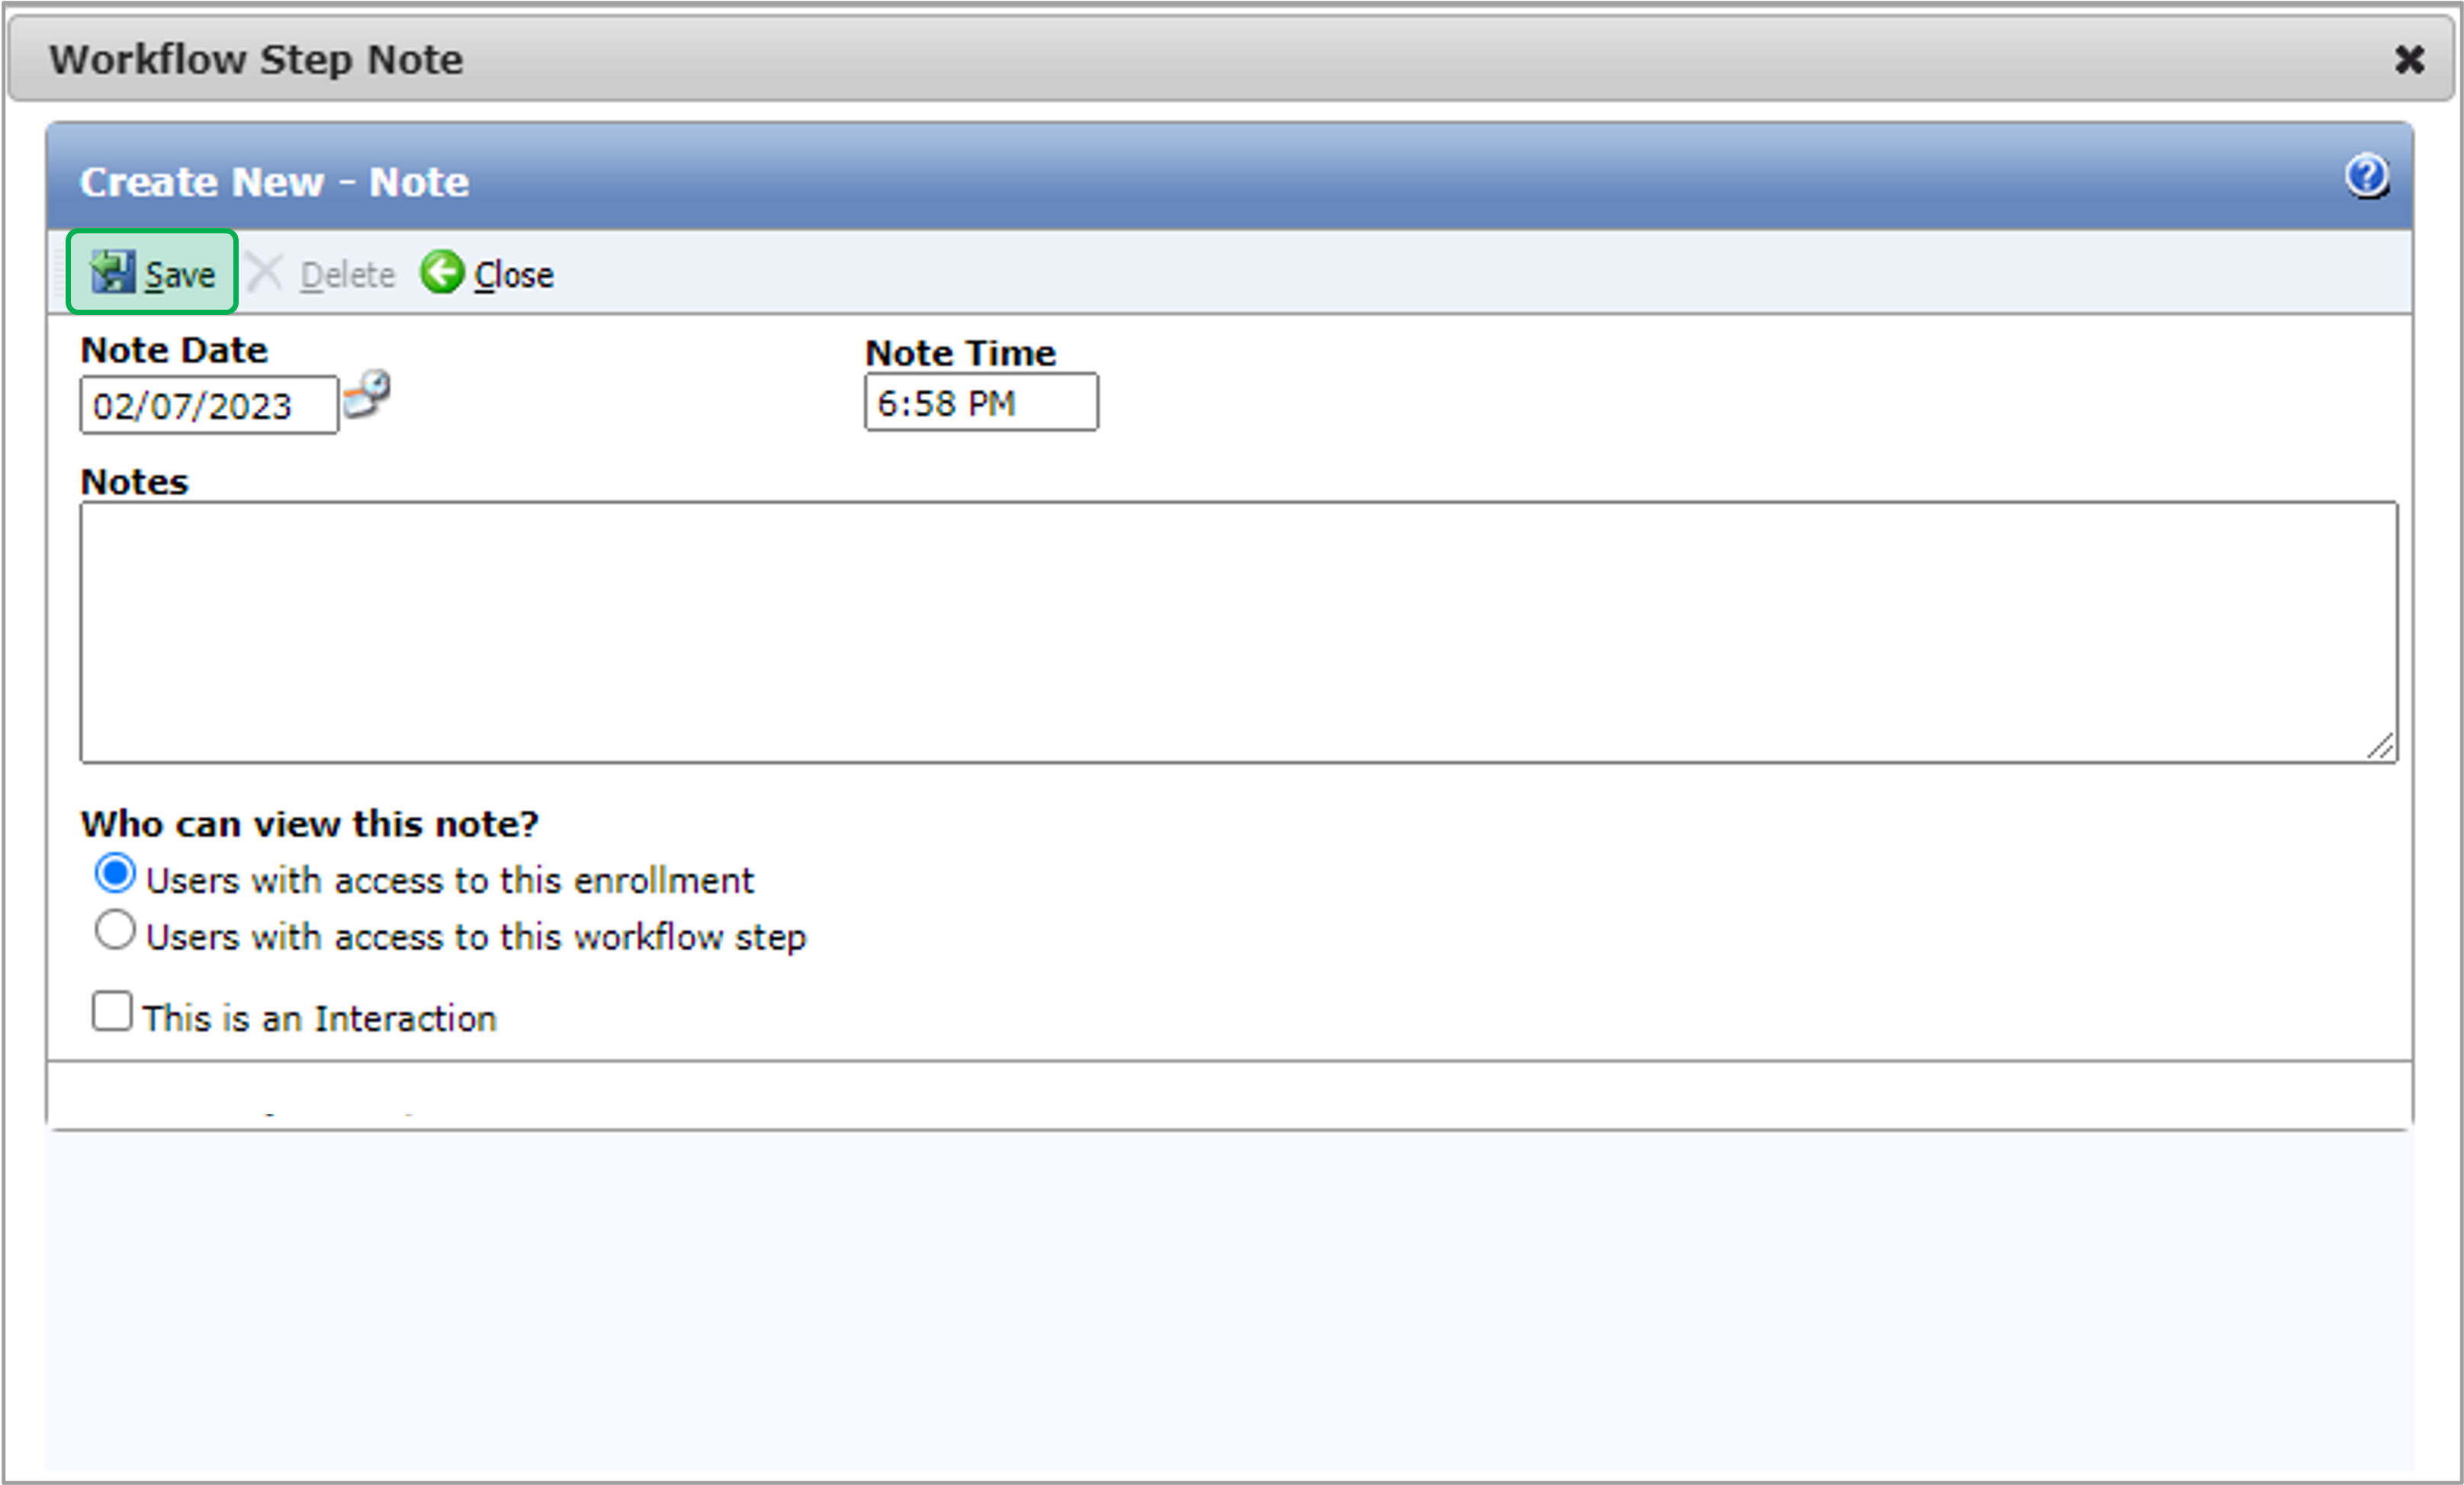
Click Save to save the new Note.
After you click Save, if your user does not belong to a group with the Workflow Step Notes - Edit role, they will not be able to edit the Note.
If your user does not belong to a group with the Workflow Step Notes - Delete role, they will not be able to delete the Note.
The instructions below provides guidance for contractors to upload generic supporting documents (optional).
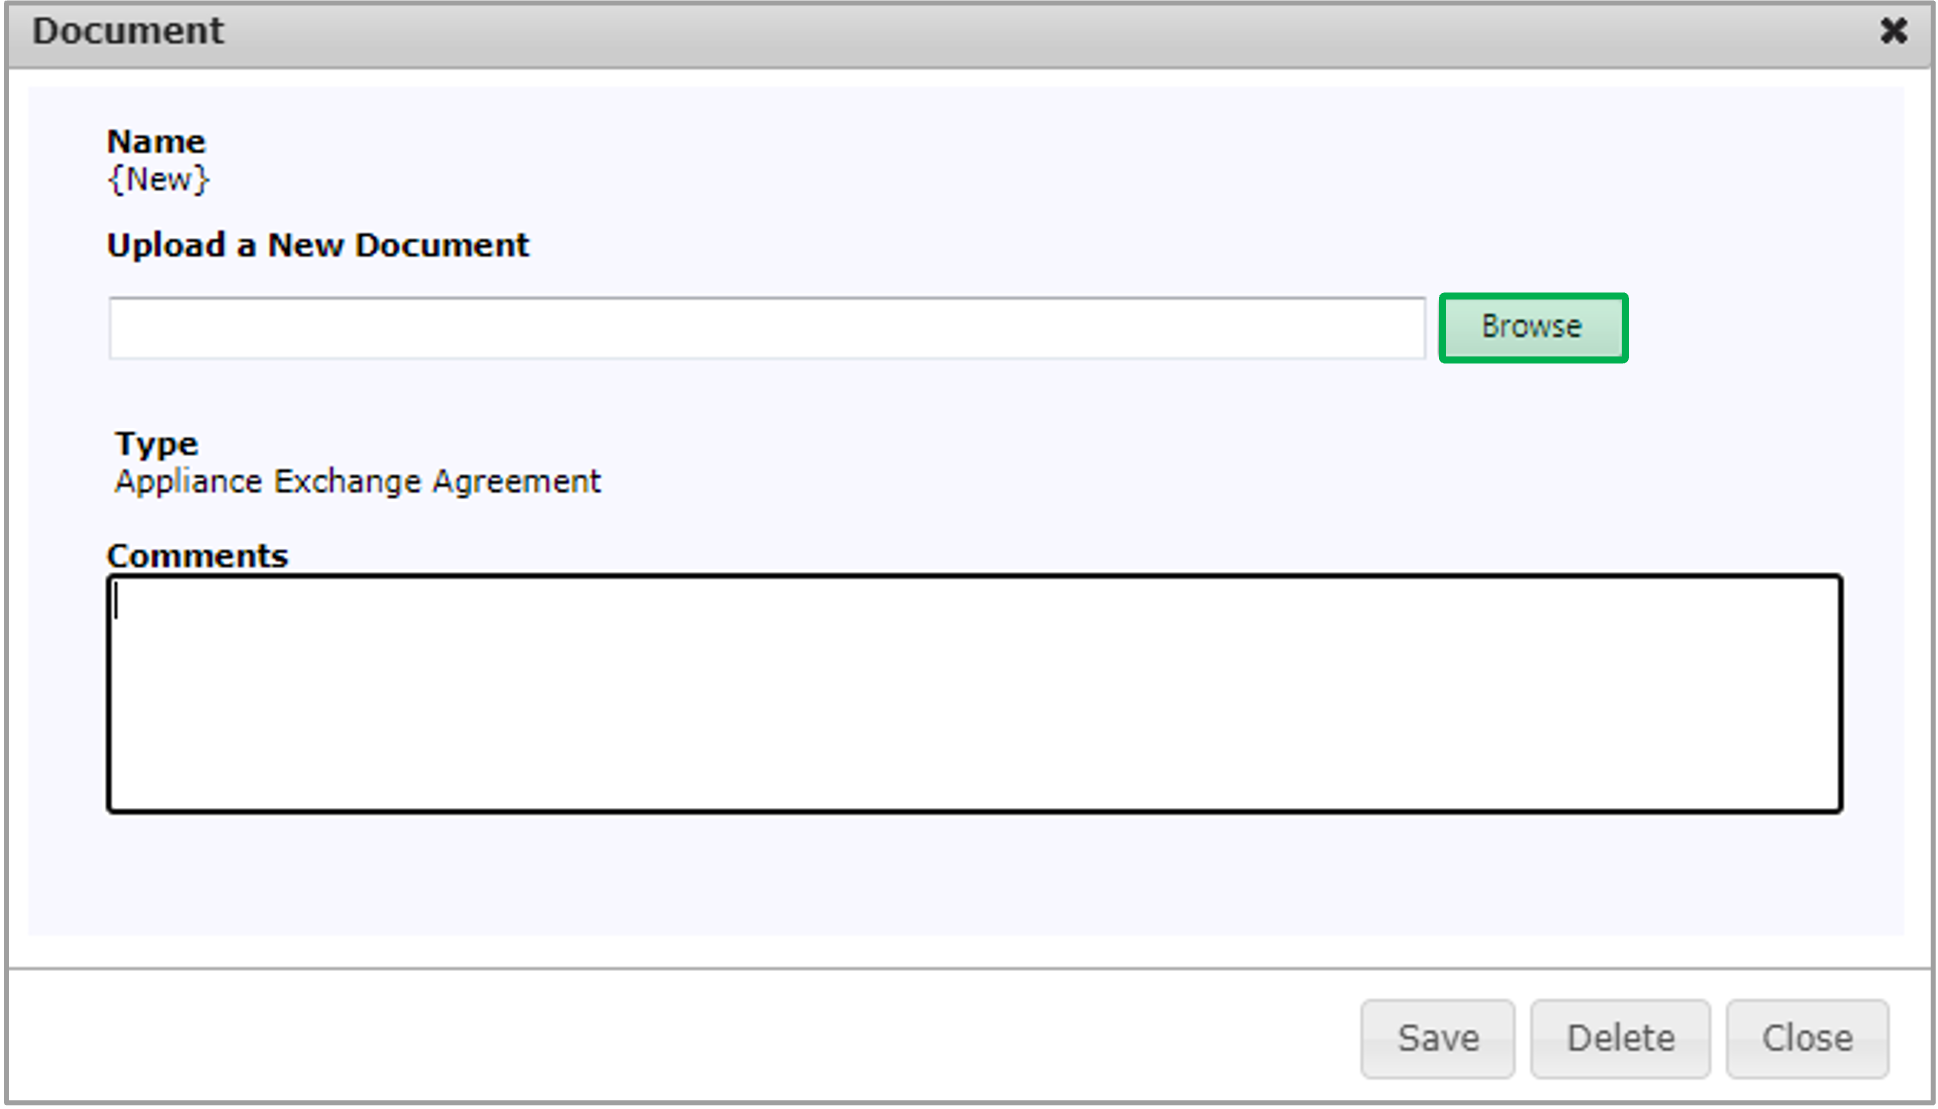
On the Document tab, click the Edit button icon in that Document Type’s row, the Document dialog will open.

Click Browse to select a file to upload.
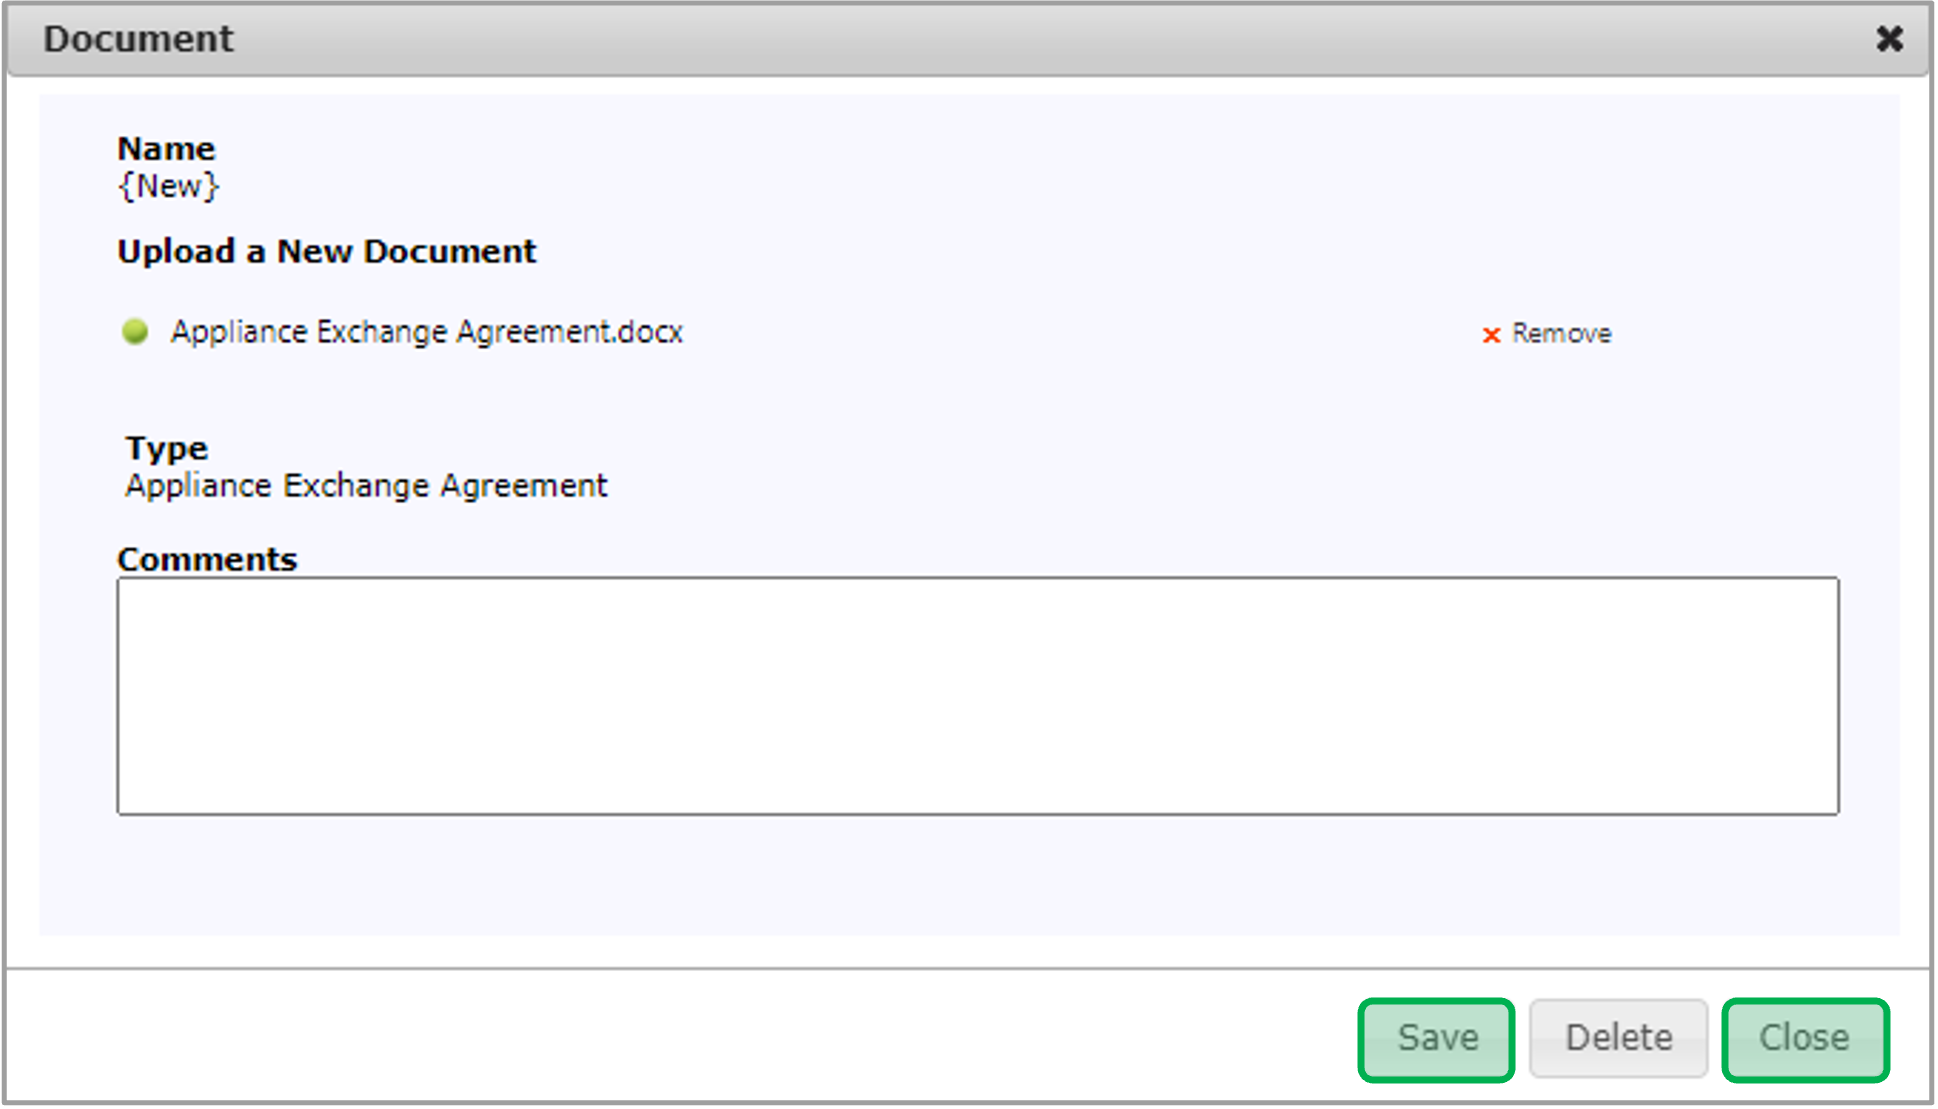
After you’ve selected a file, you can remove it by clicking the x Remove button.
After the file is uploaded for the Document Type, click Save and then click Close to upload the file and close the dialog.
To view an uploaded document, click the Document Name Hyperlink.

If you want to upload more than one Document Type at the same time, click the New button at the top of the Documents tab.

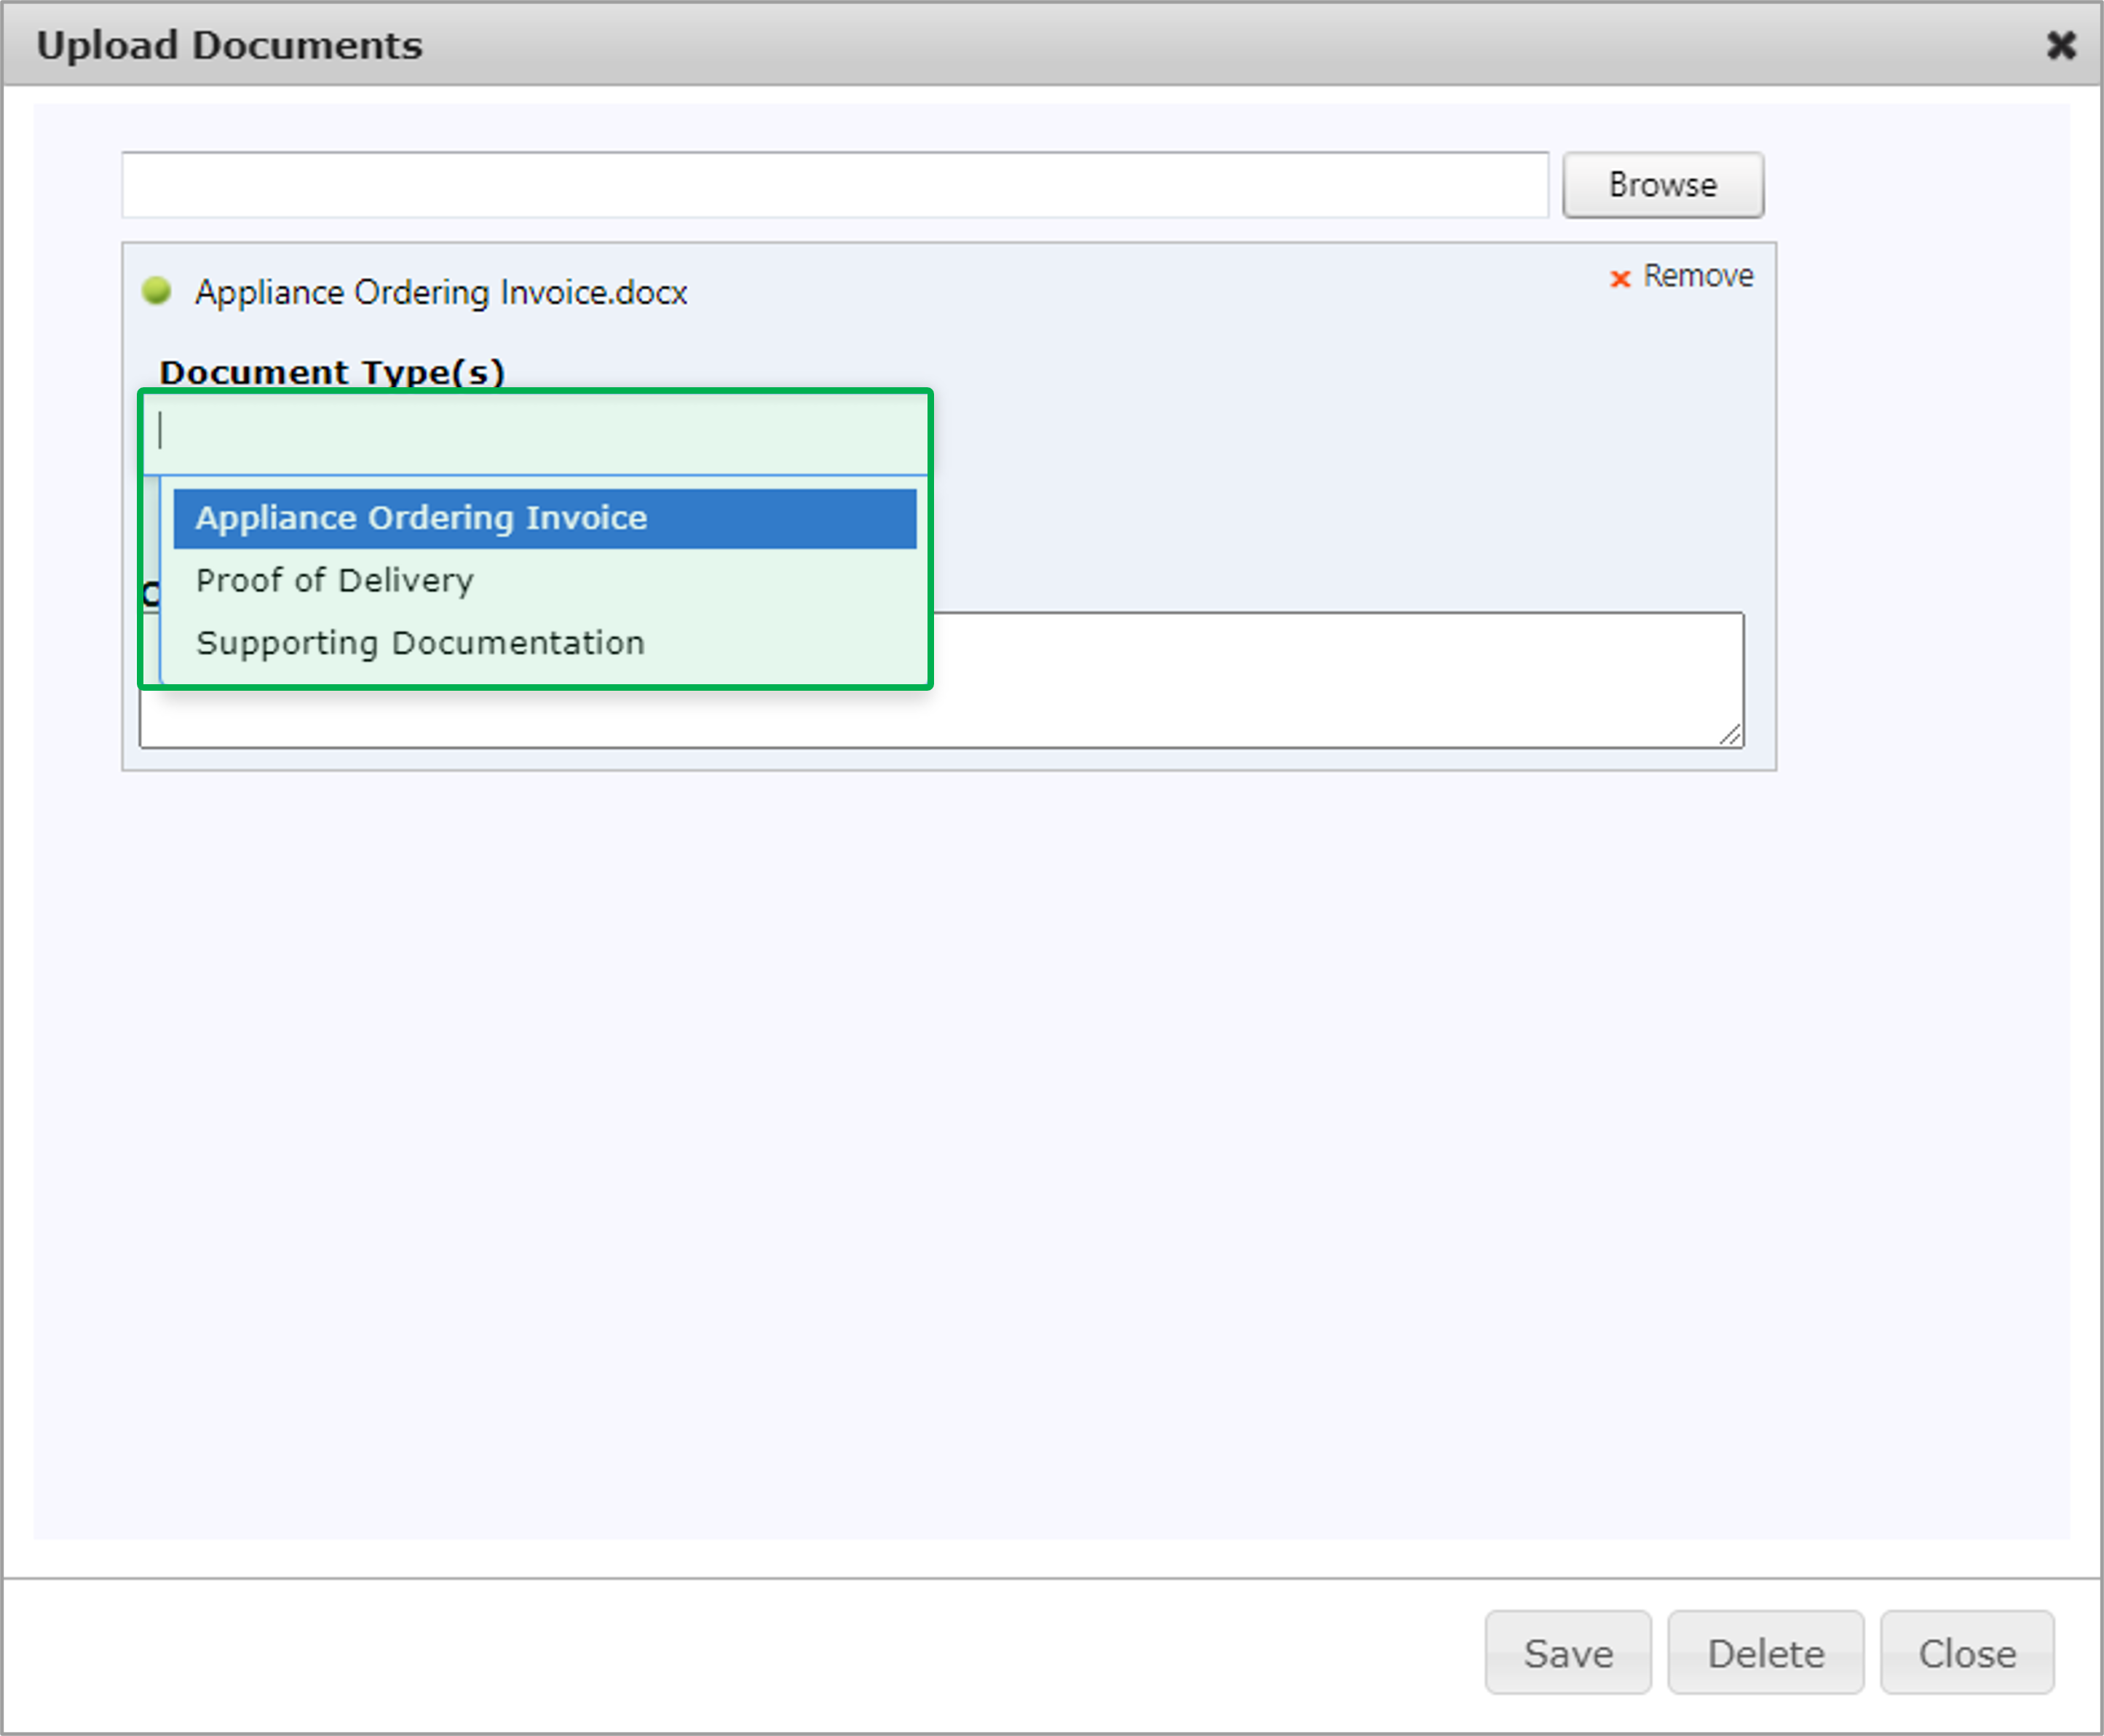
The Upload Documents dialog will open. You will need to select the Document Type for every file you choose in the Upload Documents dialog. When finished, click Save.
- No labels