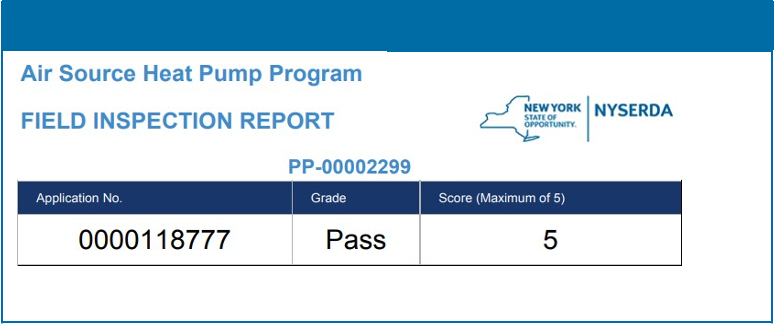
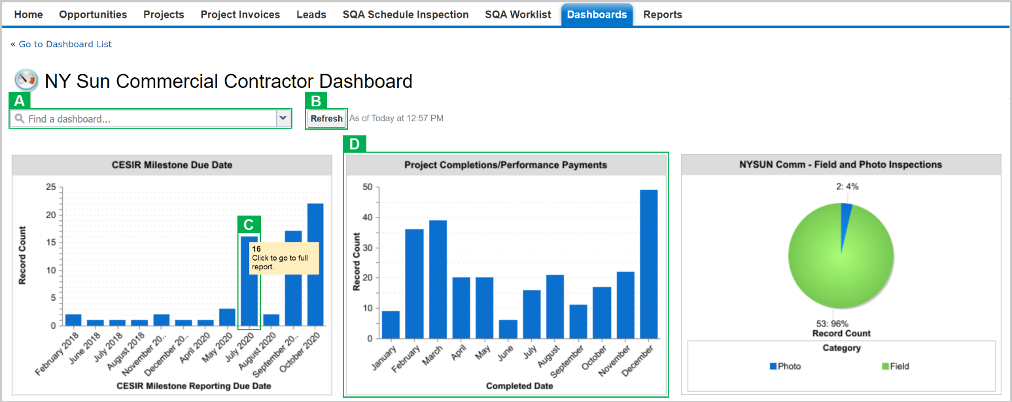
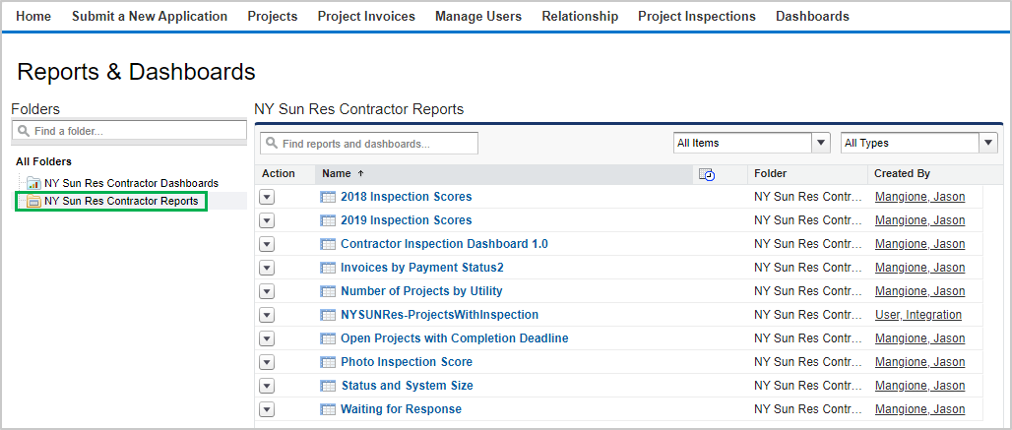
The Standards and Quality Assurance (SQA) module allows NYSERDA and contracted Quality Service Providers (QSPs) to identify projects that are eligible for field or photo inspections. A random sampling of projects are selected for inspection to verify that program and technical requirements have been met. The SQA module allows inspectors to document evidence of any non-conformance through photos and written documentation. Information collected by the inspector is uploaded into the Salesforce QA checklist and an inspection report is generated. The SQA module allows the Contractor/Builder to submit corrective action documentation as needed and for the program implementer (either initiative staff or an external company providing support) to respond.
Audience: Participating Contractors
The diagram below outlines the SQA Process Steps for the complete inspection process. The standard inspection process is outlined in the All Inspections row. Additional requirements for Photo Inspection are outlined in the Photo Inspections Only row. Lastly, if an inspection requires Corrective Actions, this process is included in the Correct Action Required Path. Generally speaking, Inspections without major or critical failures will typically end at the Review & Approve Inspection step in the All Inspections row. If there are any CAR Tasks, the process will include the Corrective Action Required Path.
The Standards and Quality Assurance (SQA) module is built within the NYSERDA Partner Portal (Salesforce). All activity related to scheduling, conducting, reviewing and approving inspections, and managing corrective action responses and resolutions, is documented and managed from within Salesforce.
Some NYSERDA Programs stipulate in their respective Program Manuals that photo inspections may be scheduled. If Contractors or Builders are performing an installation for a project under a NYSERDA program that conducts photo inspections, Contractors or Builders should be taking photos of their work at the time of installation or during project completion, regardless if any future scheduled inspection will be a field or photo Inspection. These photos will only need to be uploaded to the inspection checklist when a photo inspection has been scheduled.
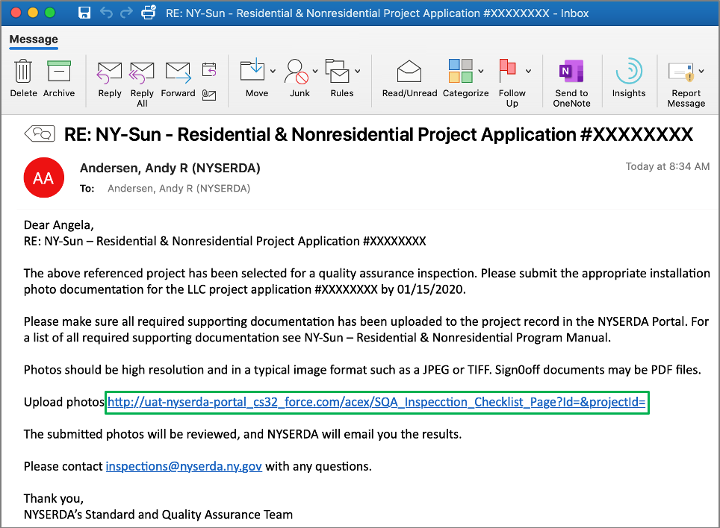
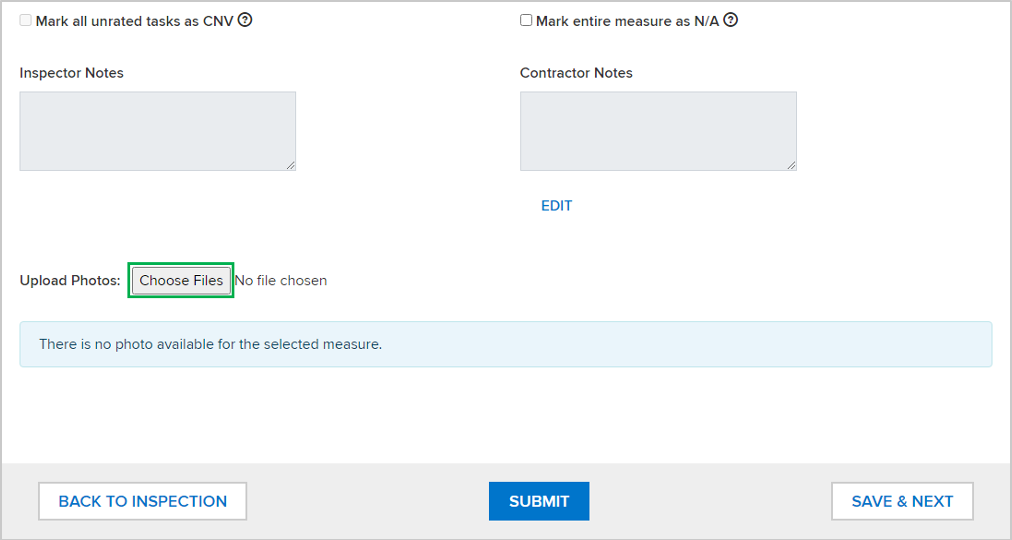
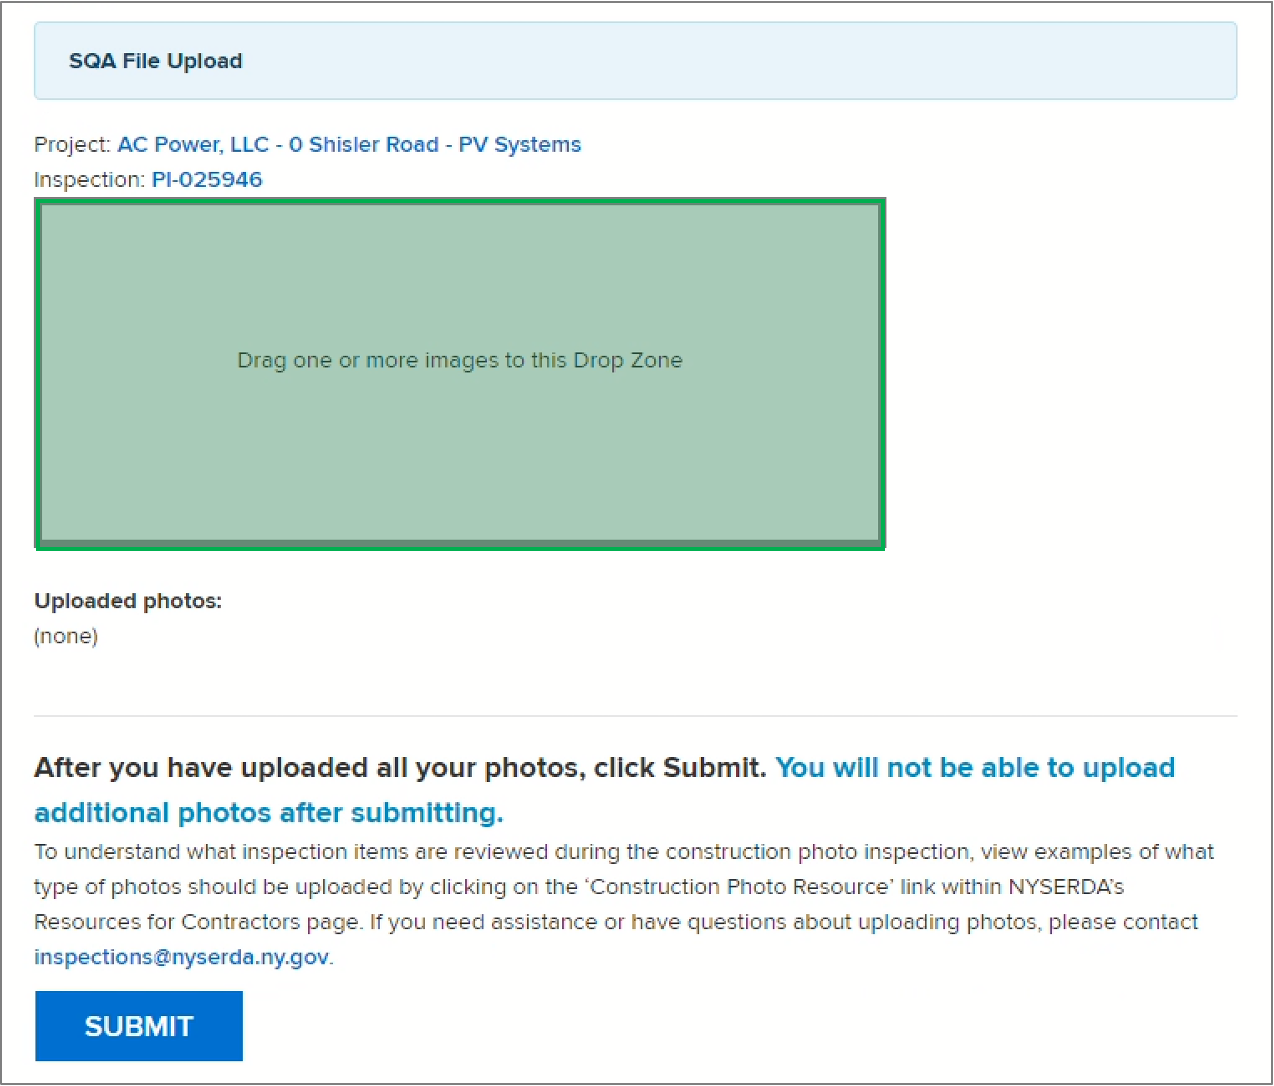
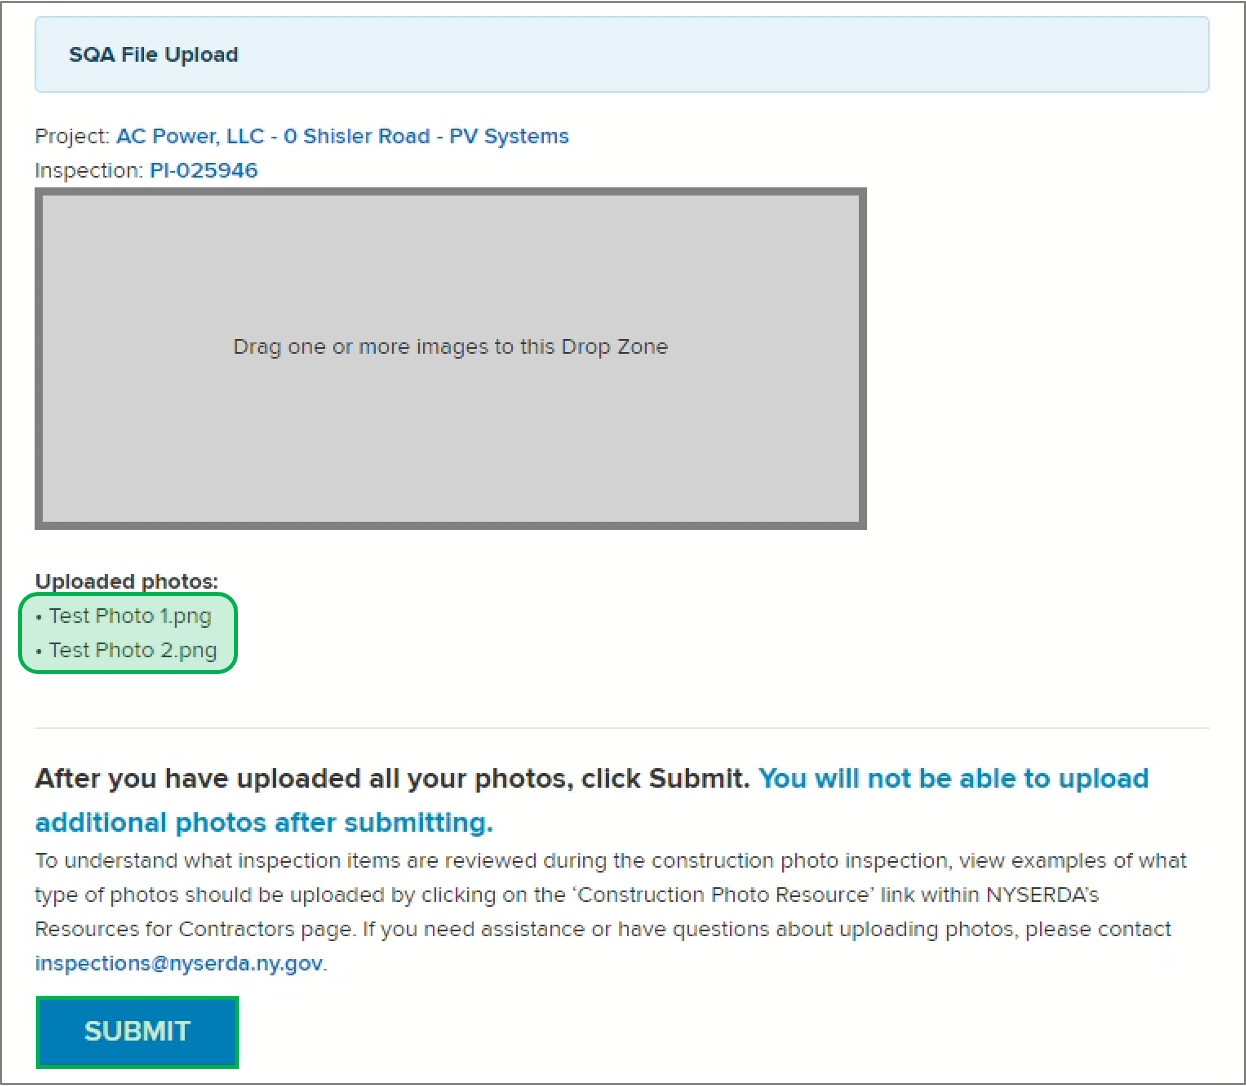
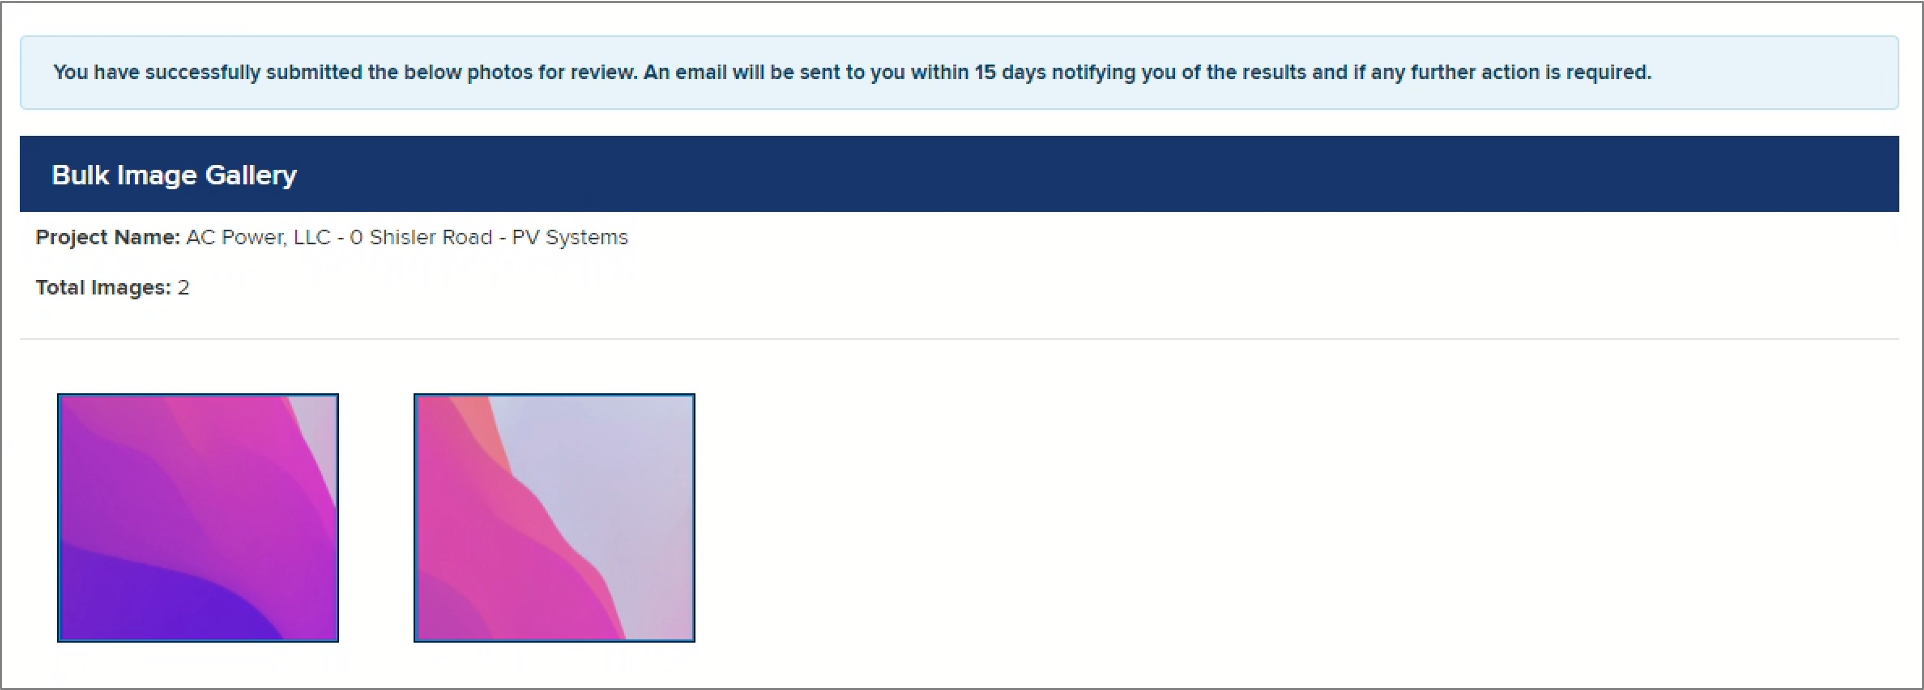
When NYSERDA requests a photo inspection, Contractors or Builders will upload photos to Salesforce. There are two ways to upload photos for photo inspections. The first is, by apending them to the inspection check list. Ther other is bulk uploading them through the project inspection record (Bulk uploading through the project inspection record will help save time). NYSERDA will review all uploads, provide a QA score, and issue CAR reports if necessary. Contractors or Builders have fifteen (15) days to upload installation/project photos after receiving an email notification requesting a photo inspection and will be reminded, via email, on the sixteenth (16) day if photos are not submitted. Below is an example of the NYSERDA email communication that Contractors or Builders will receive when the QSP QA Scheduler schedules a photo inspection. The highlighted links open the Salesforce page where users can provide evidence/photos*.
If a photo that has previously been uploaded by a Contractor/Builder does not adequately provide information for the Inspector to assess the associated Measure was installed properly, the Inspector will mark the Measure as Could Not Verify. Once the Inspector has completed the inspection process and submitted their findings, Contractors/Builders will receive an email communication notifying them that a photo(s) associated with a Measure(s) must be re-submitted to show evidence of proper installation.
To re-submit a photo, access the Inspection Report (PDF Document) from the Project Inspection Record. This report will help you easily and quickly identify all Tasks that are marked as CNV.
Next, access the Inspection Checklist for the Project Inspection. This can be done either by:
- Clicking the link in the email notification
- Logging into Salesforce, Accessing the Project Inspection Record and clicking on the Inspection Checklist.
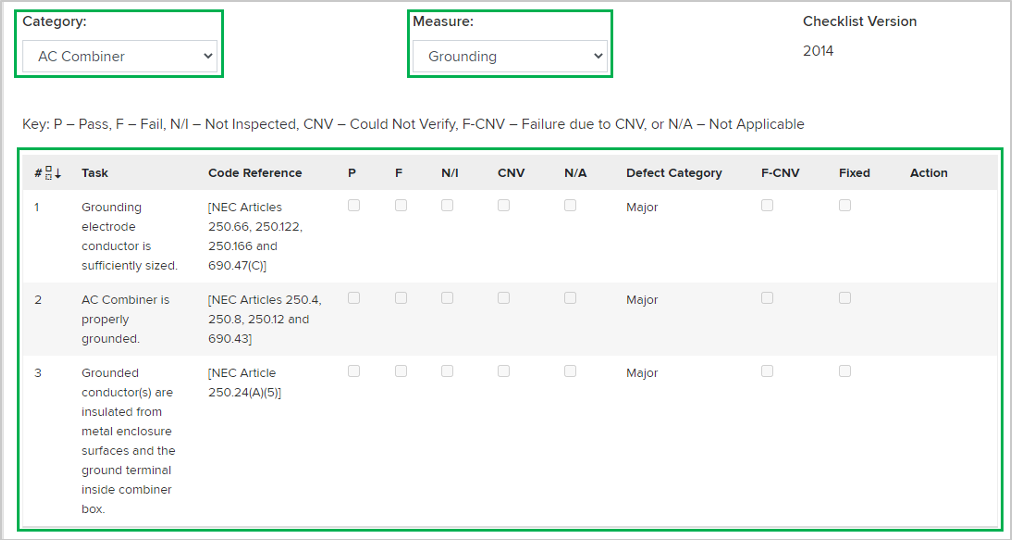
- Once in the Inspection Checklist, use the Category and Measure drop down fields, in conjunction with the Inspection report, to navigate to the first Task marked as CNV.
Follow the process in the Uploading Photos section of this guide to upload new photos for each Measure where a Task was marked as CNV.
- Continue until all tasks marked as CNV have a newly uploaded photo, then click Back to Inspection and log out.
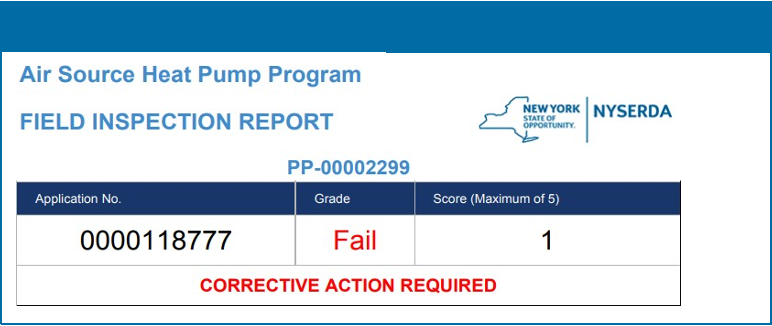
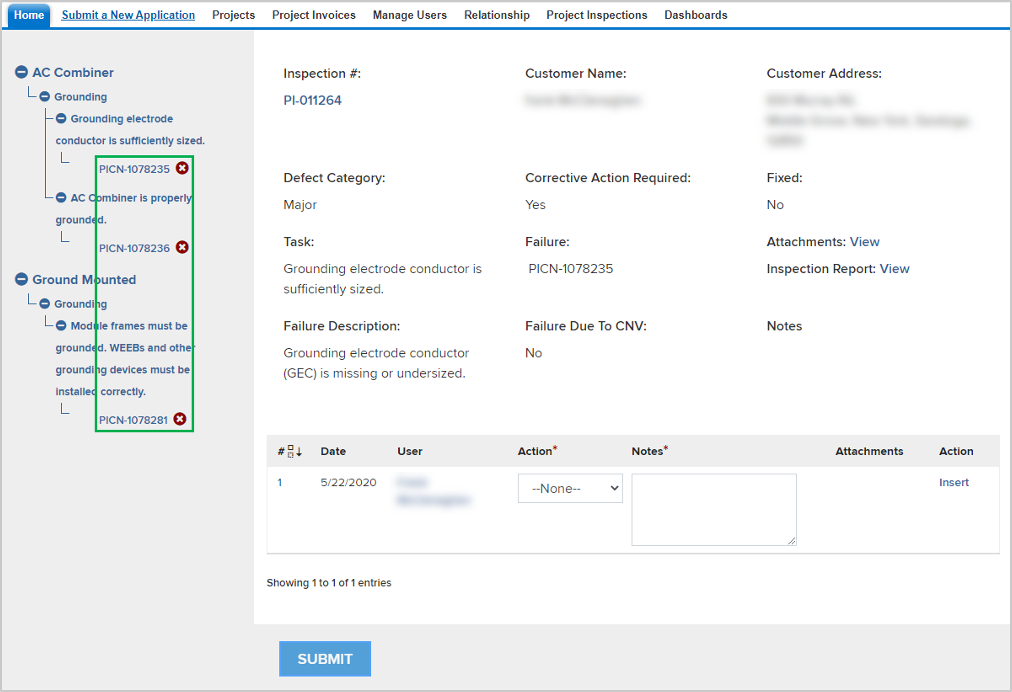
Corrective Action Required (CAR) tasks may be assigned to specific Measures or Tasks for an inspection. CARs, in general, highlight major or critical deficiencies of the installation or project.
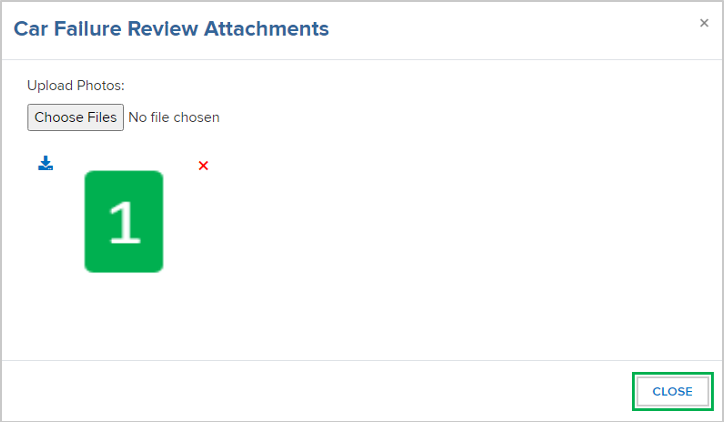
Contractors/Builders who receive CAR tasks related to a prior inspection must resolve all Critical and Major failed tasks. This may require performing additional work on the build site to fix any documented issues. Once these issues have been resolved, Contractors/Builders should follow the following process to update the inspection record.
